












Old Cape of Good Hope, Cape Town, South Africa Nautical Chart by De La Rochette, 1795: Table Mt, False Bay, Stellenbosch
Restored in our London workshop from the original 1795 map and printed to museum-grade archival standards. Full description
The Collector’s Offer
Choose two eligible works and receive 20% off both. Choose three and the lowest-priced one is complimentary, a maximum saving of 33%.
Mix and match eligible standard maps and fine-art prints. No code is required; the offer is applied automatically at checkout.
Standard made-to-order configurations are included. Bespoke sizes, personalised designs and commissioned work are excluded.
Need delivery to different addresses? Contact us before ordering.The Collector’s Offer
Choose two eligible works and receive 20% off both. Choose three and the lowest-priced one is complimentary, a maximum saving of 33%.
Mix and match eligible standard maps and fine-art prints. No code is required; the offer is applied automatically at checkout.
Standard made-to-order configurations are included. Bespoke sizes, personalised designs and commissioned work are excluded.
Need delivery to different addresses? Contact us before ordering. Restored in London • Printed and framed in Australia
Restored from the original 1795 map and printed to museum-grade archival standards. Full description
Choose your size
Choose your finish


(More info)
Gift message & custom finish

If you want to add a gift message, or a finish (jigsaw, aluminium board, etc.) that is not available here, please request it in the "order note" when you check out.
Every order is custom made, so if you need the size adjusted slightly, or printed on an unusual material, just let us know. We've done thousands of custom orders over the years, so there's (almost) nothing we can't manage.
You can also contact us before you order, if you prefer!
Own a piece of history
8,000+ five-star reviews

This late-18th-century chart, titled The Dutch Colony of the Cape of Good Hope by L.S. De La Rochette (1795), presents a richly...
Continue readingThis late-18th-century chart, titled The Dutch Colony of the Cape of Good Hope by L.S. De La Rochette (1795), presents a richly layered portrait of the Cape as it evolved from a refreshment station into a structured, multicultural colony. Issued by William Faden—London’s preeminent Geographer to the King—it synthesizes the newest coastal and inland intelligence of its day. From “Klipping Eyland” down to “Cape Falso,” the map fuses maritime necessities with land-based realities: the safe approach to anchorages, the dominance of mountains over settlement, and the emerging lattice of farms and towns. It is both a navigational instrument and a social document, capturing how geography directed commerce, governance, and daily life along one of the world’s pivotal sea routes.
Topography is the map’s visual grammar. The relief is sculpted through fine hachuring and tonal shading, elevating the dramatic amphitheater of Table Mountain—explicitly noted at roughly 3,400 feet—and its sentinels, Lion’s Head and Lion’s Rump. Rugged promontories such as Duivelsberg and the coastal ridge of Muyzenberg, near 1,300 feet, guide the eye—and historically, the traveler—along corridors that channeled movement across the peninsula. Beyond the coast, the Drakenstein and Kogelberg ranges impose natural limits on expansion, while features like Clogstone Kloof and the Warm Bokkeveld hint at viable passes and interior agricultural prospects. This is landscape as strategist, rendered with the elegant restraint for which De La Rochette and Faden were renowned.
Maritime intelligence anchors the composition. Tafel (Table) Bay, Saldanha Bay, and St. Helena’s Bay are drawn with commercial precision, while False Bay’s contours and the dramatic turn at the Cape of Good Hope toward Cape Falso reveal the stakes of pilotage in treacherous waters. Carefully plotted soundings, bearings, and coastal silhouettes—paired with a clear compass orientation—translate shoreline complexity into a seaman’s checklist: where to anchor, where to take shelter, and where reefs and shoals threaten hull and cargo. The interplay of bays, headlands, and currents conveys why this coast became an indispensable hinge of global trade, shaping routes, provisioning patterns, and the tempo of imperial logistics.
Cultural and economic geographies are mapped with equal care. The colony’s agricultural footprint is legible in named farms and settlements—Constantia among the vineyards, and Stellenbosch as a keystone inland town—signaling supply chains that linked hinterland produce to maritime demand. Khoisan presence appears in the depiction of “Hottentots Kraals,” a period term marking indigenous village sites, while the labeling of areas such as “Klein Caffers” reflects historical nomenclature now understood as outdated and offensive. Together with the delineated frontier toward the Drakenstein Mountains, these signs reveal a colony negotiating land, labor, and authority—its mosaic of communities, routes, and resource bases etched directly into the terrain.
Artistry and authorship amplify its authority. The decorative cartouche, populated with Cape fauna, flora, and scenes of indigenous life, frames the map as both a scientific record and a statement of place. Faden’s imprint—prized for clarity and currency—meets De La Rochette’s meticulous terrain modeling to produce a second edition attentive to newly gathered observations. The result is an 18th-century infographic in the truest sense: data-dense yet beautifully resolved, where relief shading, coastal metrics, settlement symbols, and cultural vignettes cohere into a single, legible narrative. For the historian, navigator, or connoisseur, it is a masterclass in how information, art, and empire converged at the far edge of Africa.
Notable places on this map
- Cape Town: The primary settlement and port in the colony.
- Saldanha Bay: A significant harbor noted for its strategic position.
- St. Helena's Bay: Another bay location on the western coastline.
- Tafel Bay: A notable bay associated with its connection to the coastal waters.
- Klein Caffers: An area marked on the map, indicative of local settlements.
- Drakenstein Mountains: The geographical boundary of the Dutch colony.
- Clogstone Kloof: A valley or pass contributing to regional topography.
- Warm Bokkeveld: An area referenced in the map, indicating agricultural land use.
- Kogelberg Mountains: A significant mountain range within the vicinity of False Bay.
- Cape Falso: Marked as a prominent geographical feature to the south.
Notable Features & Landmarks
- Table Mountain (Point 'a'): Noted as a significant landmark, towering about 3,400 feet high.
- Lion's Head (Point 'b'): Recognized both for its distinctive shape and navigational value.
- Lion's Rump (Point 'c'): Another peak contributing to the local topography.
- Duivelsberg (Devil's Hill) (Point 'd'): A rugged feature symbolizing the challenging terrain for settlers.
- Muyzenberg (Point 'e'): A notable mountain feature around 1,300 feet high near the coast.
- Constantia: One of the significant farms identified on the map.
- Stellenbosch: Another important settlement highlighted in the mapped areas.
- Khoisan Villages: Temporary settlements known as "Hottentots Kraals" depicted on the map.
- False Bay: A coastal feature crucial for maritime activities in the region.
- Cape of Good Hope: A pivotal geographical landmark known for its maritime significance.
- Topographical Representation: The map provides a comprehensive view, with an emphasis on mountains, valleys, and significant elevation changes through detailed shading and hachuring.
- Cultural Representation: The inclusion of indigenous huts reflects historical interactions and conflicts between settlers and the native populations.
- Cartographic Elements: The map features a decorative cartouche illustrating local wildlife, which reveals insights about the biodiversity of the area at the time.
- Nautical Information: Significant soundings and navigational aids are likely included, facilitating maritime navigation through accurate depth measurements and compass rose indications.
- Coastal Features: The detailed representation of bays and harbors indicates the importance of coastal trade routes and maritime economy.
- Land Use: The marked farms and settlements show agricultural practices and the spread of European settlement in the region.
- Geographical Boundaries: The delineation of the Dutch colony amidst natural obstacles such as mountains illustrates the challenges faced in expansion and governance.
- Cultural Demographics: The diverse populations of the area are acknowledged, reflecting the various cultural influences present in the colony.
- Historical Significance: The map serves as a pivotal reference for understanding colonial expansion and settlement patterns during a critical era in South African history.
- Artistic Detailing: The ornate detailing in the border and cartouche demonstrate the artistic skill of the mapmaker, further emphasizing its role as both a functional and aesthetic piece of cartography.
Historical and design context
- Title of the Map: The Dutch Colony of the Cape of Good Hope by L.S. De La Rochette MDCC XCV
- Date of Creation: 1795
- Mapmaker/Publisher: Created by William Faden, who was a prominent English cartographer known for his high-quality maps and atlases during the 18th century.
- Historical Context: The map is a second edition, building on the knowledge gained from earlier explorations, reflecting ongoing geographical and topographical understanding of the region in the late 18th century.
- Geographical Scope: The map covers the Cape of Good Hope region, specifically detailing the Dutch Colony of the Cape, stretching from "Klipping Eyland" to "Cape Falso."
- Cultural Representation: The cartouche includes elements indicative of local fauna and indigenous life, portraying a blend of European colonization and the indigenous presence, including huts of the Khoisan people.
- Key Themes: Major topographical features including mountains and prominent landmarks are emphasized, contributing to maritime navigation and settlement patterns.
- Countries and Regions Shown: Primarily showcases areas in present-day South Africa, highlighting significant places in the Cape Town region.
- Design and Style: The map is characterized by detailed etching and topographical relief, representing elevation through shading and hachuring, along with a decorative cartouche that showcases local flora and fauna.
- Historical Significance: The map serves as an important historical artifact, illustrating the transition of the Cape from a provisioning station to a more established multicultural settlement.
Please double check the images to make sure that a specific town or place is shown on this map. You can also get in touch and ask us to check the map for you.
This map looks great at every size, but I always recommend going for a larger size if you have space. That way you can easily make out all of the details.
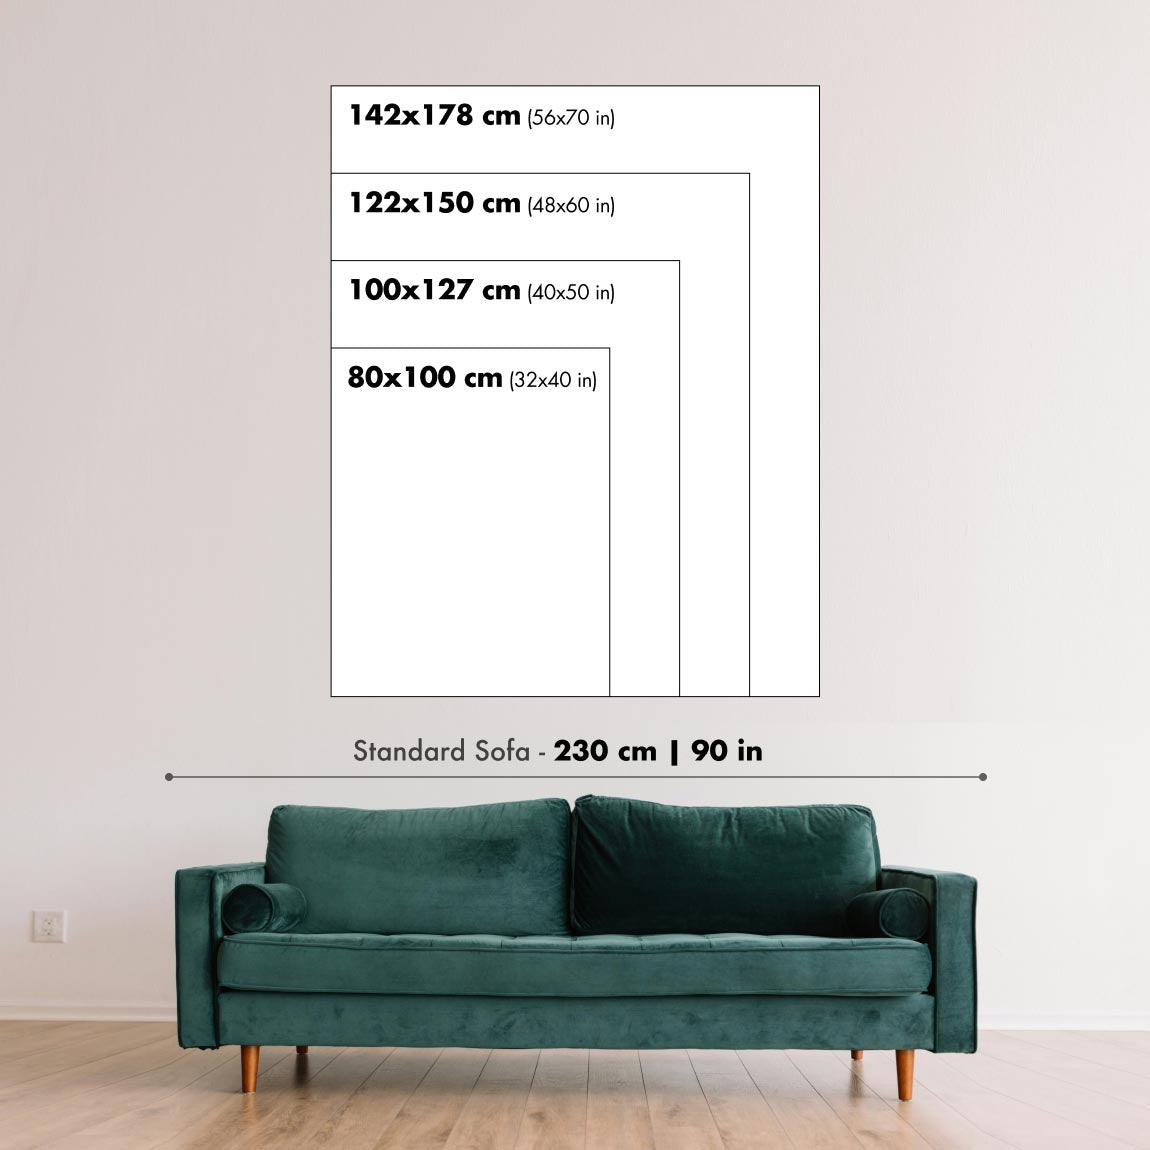
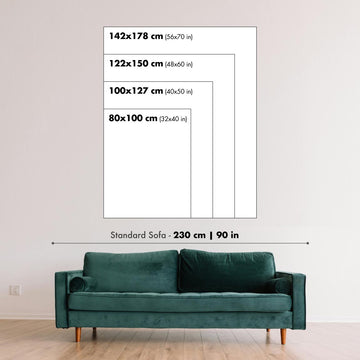
This map looks amazing at sizes all the way up to 90in (230cm). If you are looking for a larger map, please get in touch.
Please note: the labels on this map are hard to read if you order a map that is 16in (40cm) or smaller. The map is still very attractive, but if you would like to read the map easily, please buy a larger size.
The model in the listing images is holding the 24x36in (60x90cm) version of this map.
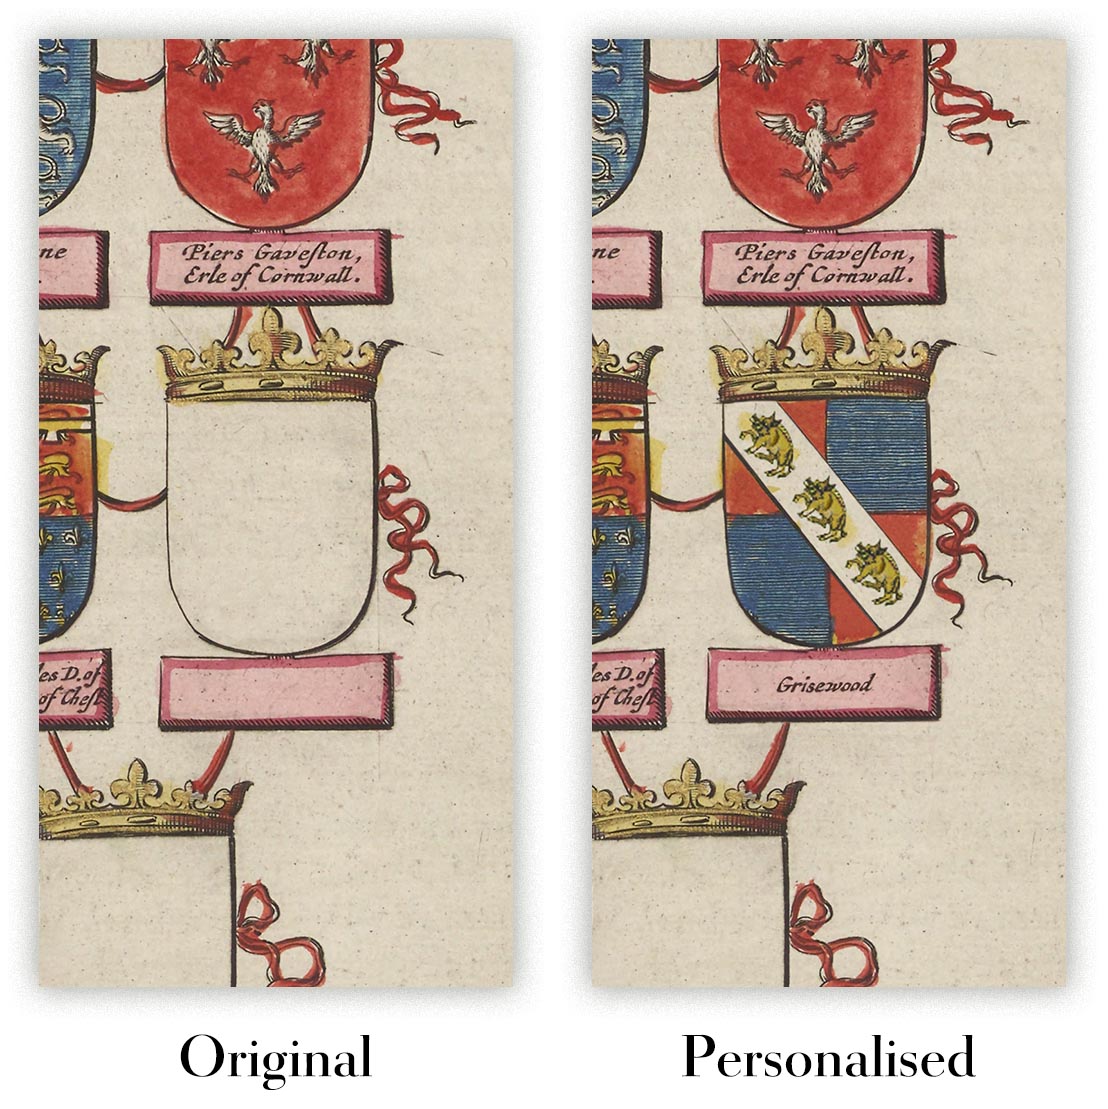
The fifth listing image shows an example of my map personalisation service.
If you’re looking for something slightly different, check out my collection of the best old maps to see if something else catches your eye.
Please contact me to check if a certain location, landmark or feature is shown on this map.
This would make a wonderful birthday, Christmas, Father's Day, work leaving, anniversary or housewarming gift for someone from the areas covered by this map.
This map is available as a giclée print on acid free archival matte paper, or you can buy it framed. The frame is a nice, simple black frame that suits most aesthetics. Please get in touch if you'd like a different frame colour or material. My frames are glazed with super-clear museum-grade acrylic (perspex/acrylite), which is significantly less reflective than glass, safer, and will always arrive in perfect condition.
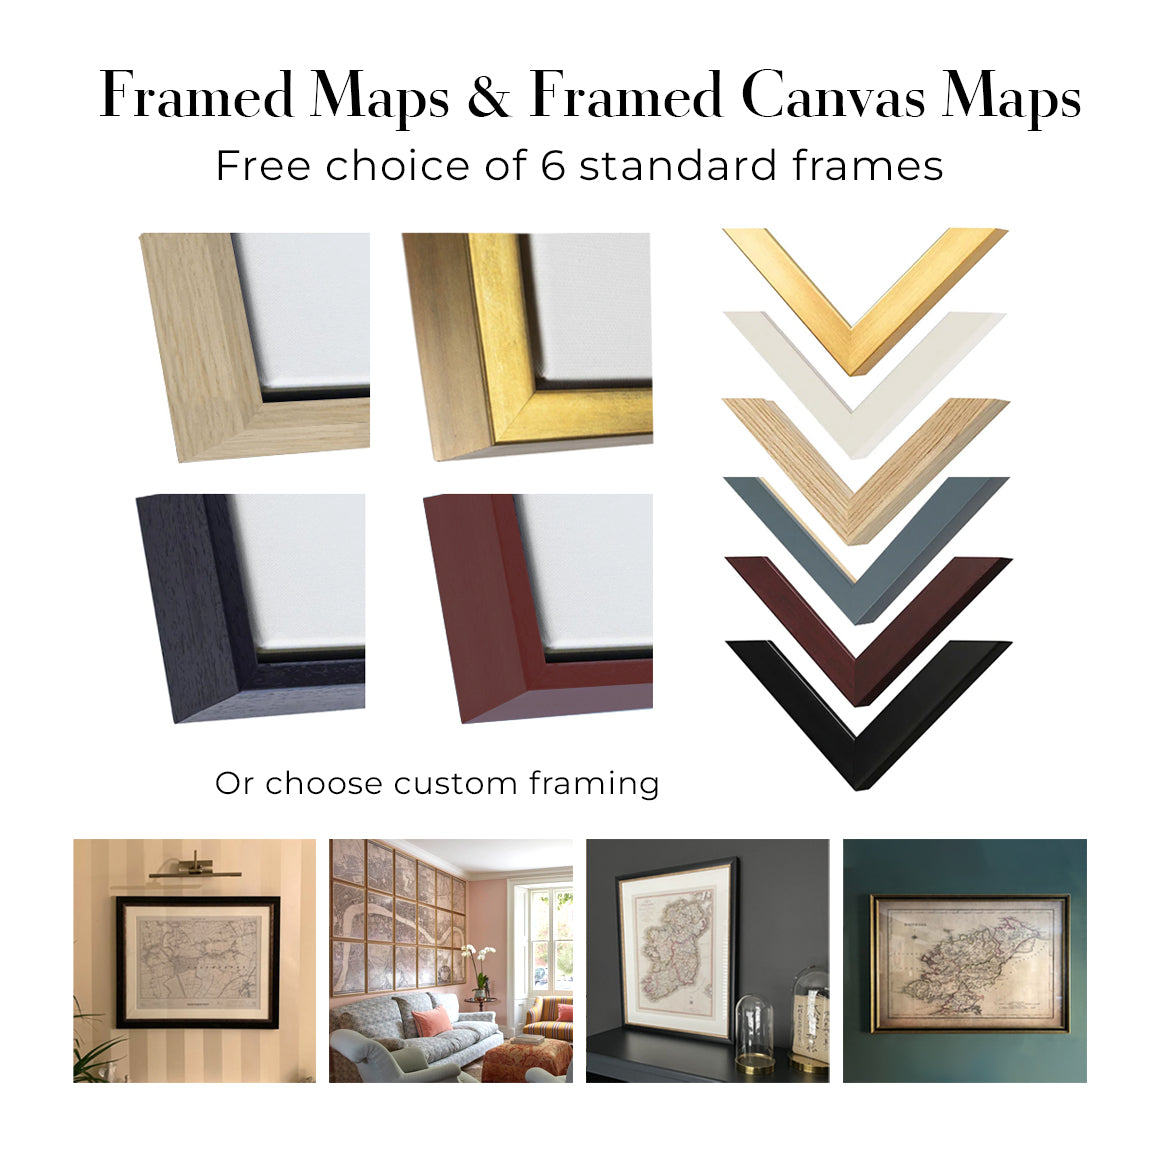
This map is also available as a float framed canvas, sometimes known as a shadow gap framed canvas or canvas floater. The map is printed on artist's cotton canvas and then stretched over a handmade box frame. We then "float" the canvas inside a wooden frame, which is available in a range of colours (black, dark brown, oak, antique gold and white). This is a wonderful way to present a map without glazing in front. See some examples of float framed canvas maps and explore the differences between my different finishes.
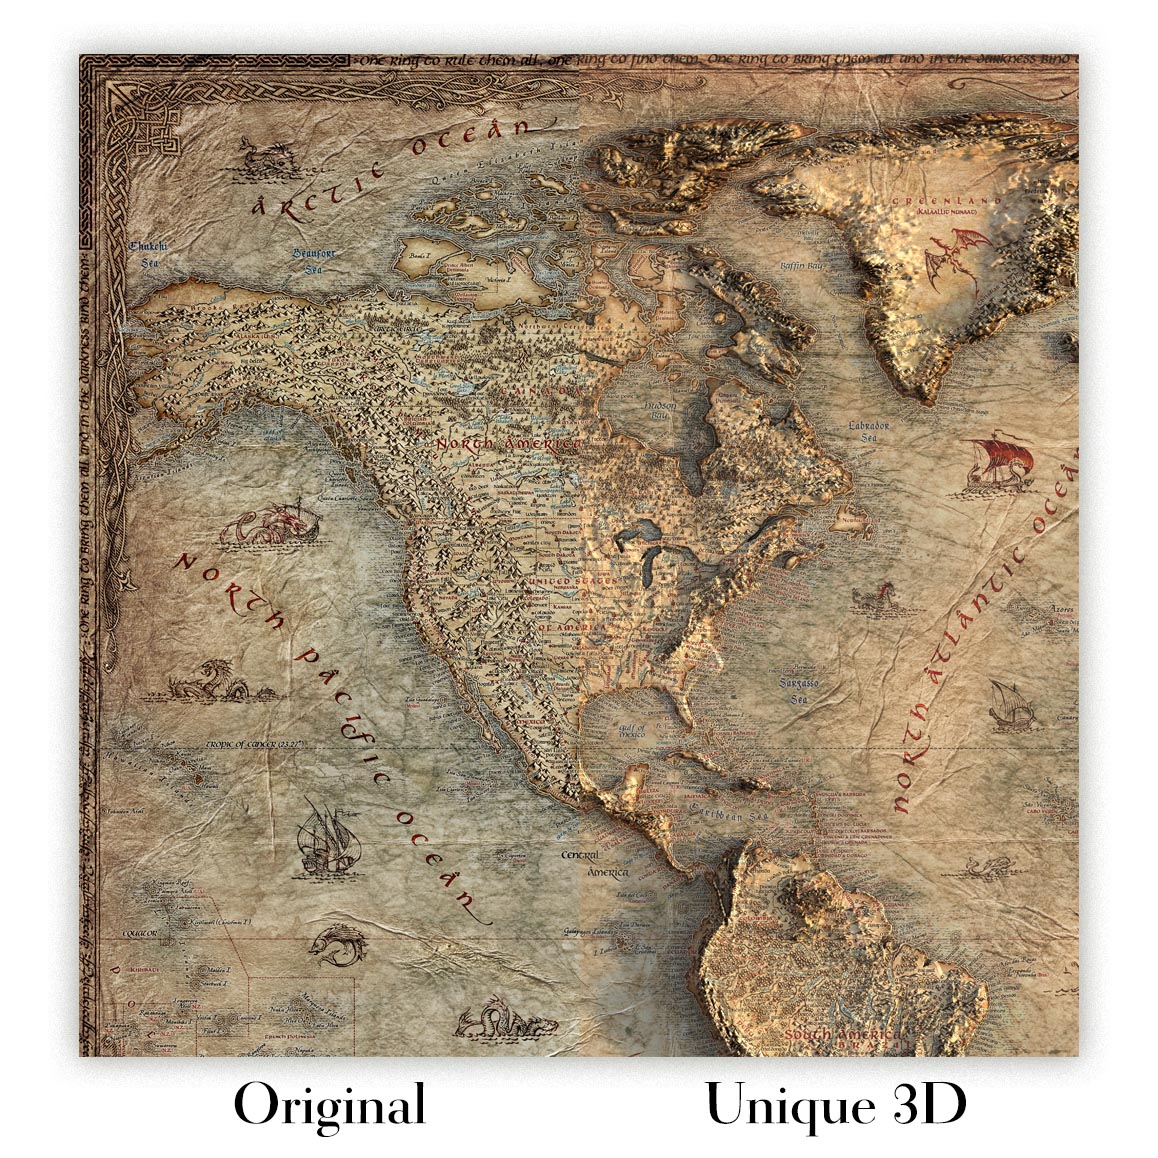
For something truly unique, this map is also available in "Unique 3D", our trademarked process that dramatically transforms the map so that it has a wonderful sense of depth. We combine the original map with detailed topography and elevation data, so that mountains and the terrain really "pop". For more info and examples of 3D maps, check my Unique 3D page.
This late-18th-century chart, titled The Dutch Colony of the Cape of Good Hope by L.S. De La Rochette (1795), presents a richly layered portrait of the Cape as it evolved from a refreshment station into a structured, multicultural colony. Issued by William Faden—London’s preeminent Geographer to the King—it synthesizes the newest coastal and inland intelligence of its day. From “Klipping Eyland” down to “Cape Falso,” the map fuses maritime necessities with land-based realities: the safe approach to anchorages, the dominance of mountains over settlement, and the emerging lattice of farms and towns. It is both a navigational instrument and a social document, capturing how geography directed commerce, governance, and daily life along one of the world’s pivotal sea routes.
Topography is the map’s visual grammar. The relief is sculpted through fine hachuring and tonal shading, elevating the dramatic amphitheater of Table Mountain—explicitly noted at roughly 3,400 feet—and its sentinels, Lion’s Head and Lion’s Rump. Rugged promontories such as Duivelsberg and the coastal ridge of Muyzenberg, near 1,300 feet, guide the eye—and historically, the traveler—along corridors that channeled movement across the peninsula. Beyond the coast, the Drakenstein and Kogelberg ranges impose natural limits on expansion, while features like Clogstone Kloof and the Warm Bokkeveld hint at viable passes and interior agricultural prospects. This is landscape as strategist, rendered with the elegant restraint for which De La Rochette and Faden were renowned.
Maritime intelligence anchors the composition. Tafel (Table) Bay, Saldanha Bay, and St. Helena’s Bay are drawn with commercial precision, while False Bay’s contours and the dramatic turn at the Cape of Good Hope toward Cape Falso reveal the stakes of pilotage in treacherous waters. Carefully plotted soundings, bearings, and coastal silhouettes—paired with a clear compass orientation—translate shoreline complexity into a seaman’s checklist: where to anchor, where to take shelter, and where reefs and shoals threaten hull and cargo. The interplay of bays, headlands, and currents conveys why this coast became an indispensable hinge of global trade, shaping routes, provisioning patterns, and the tempo of imperial logistics.
Cultural and economic geographies are mapped with equal care. The colony’s agricultural footprint is legible in named farms and settlements—Constantia among the vineyards, and Stellenbosch as a keystone inland town—signaling supply chains that linked hinterland produce to maritime demand. Khoisan presence appears in the depiction of “Hottentots Kraals,” a period term marking indigenous village sites, while the labeling of areas such as “Klein Caffers” reflects historical nomenclature now understood as outdated and offensive. Together with the delineated frontier toward the Drakenstein Mountains, these signs reveal a colony negotiating land, labor, and authority—its mosaic of communities, routes, and resource bases etched directly into the terrain.
Artistry and authorship amplify its authority. The decorative cartouche, populated with Cape fauna, flora, and scenes of indigenous life, frames the map as both a scientific record and a statement of place. Faden’s imprint—prized for clarity and currency—meets De La Rochette’s meticulous terrain modeling to produce a second edition attentive to newly gathered observations. The result is an 18th-century infographic in the truest sense: data-dense yet beautifully resolved, where relief shading, coastal metrics, settlement symbols, and cultural vignettes cohere into a single, legible narrative. For the historian, navigator, or connoisseur, it is a masterclass in how information, art, and empire converged at the far edge of Africa.
Notable places on this map
- Cape Town: The primary settlement and port in the colony.
- Saldanha Bay: A significant harbor noted for its strategic position.
- St. Helena's Bay: Another bay location on the western coastline.
- Tafel Bay: A notable bay associated with its connection to the coastal waters.
- Klein Caffers: An area marked on the map, indicative of local settlements.
- Drakenstein Mountains: The geographical boundary of the Dutch colony.
- Clogstone Kloof: A valley or pass contributing to regional topography.
- Warm Bokkeveld: An area referenced in the map, indicating agricultural land use.
- Kogelberg Mountains: A significant mountain range within the vicinity of False Bay.
- Cape Falso: Marked as a prominent geographical feature to the south.
Notable Features & Landmarks
- Table Mountain (Point 'a'): Noted as a significant landmark, towering about 3,400 feet high.
- Lion's Head (Point 'b'): Recognized both for its distinctive shape and navigational value.
- Lion's Rump (Point 'c'): Another peak contributing to the local topography.
- Duivelsberg (Devil's Hill) (Point 'd'): A rugged feature symbolizing the challenging terrain for settlers.
- Muyzenberg (Point 'e'): A notable mountain feature around 1,300 feet high near the coast.
- Constantia: One of the significant farms identified on the map.
- Stellenbosch: Another important settlement highlighted in the mapped areas.
- Khoisan Villages: Temporary settlements known as "Hottentots Kraals" depicted on the map.
- False Bay: A coastal feature crucial for maritime activities in the region.
- Cape of Good Hope: A pivotal geographical landmark known for its maritime significance.
- Topographical Representation: The map provides a comprehensive view, with an emphasis on mountains, valleys, and significant elevation changes through detailed shading and hachuring.
- Cultural Representation: The inclusion of indigenous huts reflects historical interactions and conflicts between settlers and the native populations.
- Cartographic Elements: The map features a decorative cartouche illustrating local wildlife, which reveals insights about the biodiversity of the area at the time.
- Nautical Information: Significant soundings and navigational aids are likely included, facilitating maritime navigation through accurate depth measurements and compass rose indications.
- Coastal Features: The detailed representation of bays and harbors indicates the importance of coastal trade routes and maritime economy.
- Land Use: The marked farms and settlements show agricultural practices and the spread of European settlement in the region.
- Geographical Boundaries: The delineation of the Dutch colony amidst natural obstacles such as mountains illustrates the challenges faced in expansion and governance.
- Cultural Demographics: The diverse populations of the area are acknowledged, reflecting the various cultural influences present in the colony.
- Historical Significance: The map serves as a pivotal reference for understanding colonial expansion and settlement patterns during a critical era in South African history.
- Artistic Detailing: The ornate detailing in the border and cartouche demonstrate the artistic skill of the mapmaker, further emphasizing its role as both a functional and aesthetic piece of cartography.
Historical and design context
- Title of the Map: The Dutch Colony of the Cape of Good Hope by L.S. De La Rochette MDCC XCV
- Date of Creation: 1795
- Mapmaker/Publisher: Created by William Faden, who was a prominent English cartographer known for his high-quality maps and atlases during the 18th century.
- Historical Context: The map is a second edition, building on the knowledge gained from earlier explorations, reflecting ongoing geographical and topographical understanding of the region in the late 18th century.
- Geographical Scope: The map covers the Cape of Good Hope region, specifically detailing the Dutch Colony of the Cape, stretching from "Klipping Eyland" to "Cape Falso."
- Cultural Representation: The cartouche includes elements indicative of local fauna and indigenous life, portraying a blend of European colonization and the indigenous presence, including huts of the Khoisan people.
- Key Themes: Major topographical features including mountains and prominent landmarks are emphasized, contributing to maritime navigation and settlement patterns.
- Countries and Regions Shown: Primarily showcases areas in present-day South Africa, highlighting significant places in the Cape Town region.
- Design and Style: The map is characterized by detailed etching and topographical relief, representing elevation through shading and hachuring, along with a decorative cartouche that showcases local flora and fauna.
- Historical Significance: The map serves as an important historical artifact, illustrating the transition of the Cape from a provisioning station to a more established multicultural settlement.
Please double check the images to make sure that a specific town or place is shown on this map. You can also get in touch and ask us to check the map for you.
This map looks great at every size, but I always recommend going for a larger size if you have space. That way you can easily make out all of the details.
This map looks amazing at sizes all the way up to 90in (230cm). If you are looking for a larger map, please get in touch.
Please note: the labels on this map are hard to read if you order a map that is 16in (40cm) or smaller. The map is still very attractive, but if you would like to read the map easily, please buy a larger size.
The model in the listing images is holding the 24x36in (60x90cm) version of this map.
The fifth listing image shows an example of my map personalisation service.
If you’re looking for something slightly different, check out my collection of the best old maps to see if something else catches your eye.
Please contact me to check if a certain location, landmark or feature is shown on this map.
This would make a wonderful birthday, Christmas, Father's Day, work leaving, anniversary or housewarming gift for someone from the areas covered by this map.
This map is available as a giclée print on acid free archival matte paper, or you can buy it framed. The frame is a nice, simple black frame that suits most aesthetics. Please get in touch if you'd like a different frame colour or material. My frames are glazed with super-clear museum-grade acrylic (perspex/acrylite), which is significantly less reflective than glass, safer, and will always arrive in perfect condition.
This map is also available as a float framed canvas, sometimes known as a shadow gap framed canvas or canvas floater. The map is printed on artist's cotton canvas and then stretched over a handmade box frame. We then "float" the canvas inside a wooden frame, which is available in a range of colours (black, dark brown, oak, antique gold and white). This is a wonderful way to present a map without glazing in front. See some examples of float framed canvas maps and explore the differences between my different finishes.
For something truly unique, this map is also available in "Unique 3D", our trademarked process that dramatically transforms the map so that it has a wonderful sense of depth. We combine the original map with detailed topography and elevation data, so that mountains and the terrain really "pop". For more info and examples of 3D maps, check my Unique 3D page.
Many of our maps and art prints are chosen as thoughtful gifts for homes, offices, studies and meaningful places.
Choose a framed option for the easiest ready-to-hang gift, or choose an unframed print if the recipient may prefer to select their own frame.
We make orders locally in 24 countries around the world, so gifts can often be produced close to the recipient. This helps them arrive faster, travel more safely, and avoid customs or import duty surprises.
- We can deliver directly to the recipient
- Framed pieces arrive ready to hang
- Unframed prints are carefully packed in a strong protective tube
- Almost every order is made locally, for faster, safer gifting
- 90-day returns give the recipient time to decide
If you are not sure what to choose, please contact us. We can help you pick the right map, size, finish or delivery option.
Most orders are made locally and delivered in around 2–3 working days, depending on the product, size and destination.
We print and frame maps and artwork in 24 countries around the world, so your order is usually made close to you or your recipient. That means faster delivery, less time in transit, and no customs or import duty surprises.
Personalised and customised pieces usually take an extra 1–2 working days, because we prepare your design and send it to you for approval before printing.
Very large framed orders can take a little longer, as they need extra care in production and delivery.
Every order is carefully packaged: unframed prints are sent in a strong protective tube, while framed pieces are securely packed with protective materials around the frame.
If you need your order by a particular date, please contact us before ordering. We’ll check the best production route and delivery option for your location.
Express delivery is available at checkout for most countries. Next-day delivery is available in the UK, US, Singapore and the UAE.
Your order is covered by our 90-day returns policy and 10-year guarantee.
Our standard frame is a gallery-style black ash hardwood frame, with a simple, modern look. It is approximately 20mm (0.8in) wide. You can also view some lovely customer photos of framed maps and art.
We use super-clear acrylic glazing, also known as Perspex or Acrylite, instead of traditional glass. It is lighter, safer, and has lower reflectivity, giving the artwork a clearer, cleaner appearance.
Six standard frame colours are available at no extra cost: black, dark brown, dark grey, oak, white, and antique gold. Custom framing and mounting/matting is also available for customers looking for something more specific.
Most maps, art prints, and illustrations are also available as a framed canvas. We use matte cotton canvas, stretch it over a sustainably sourced wooden box frame, and then float the piece within a wooden outer frame. The finished result is beautifully presented, with no glazing between you and the artwork.
All frames are supplied ready to hang, with either string or brackets fitted to the back. Very large frames will include heavy-duty hanging plates and/or a mounting baton. If you have any questions, please get in touch.
We can also supply old maps and artwork on canvas, foam board, cotton rag, and other materials.
If you would prefer to frame your map or artwork yourself, please read our size guide before ordering.
We work with interior designers, hospitality businesses, property professionals, offices and corporate buyers on individual pieces and larger coordinated projects.
This map can be adapted for a particular wall, room or project, and our workshop can help coordinate the dimensions, material and framing before production.
- Exact, oversized and made-to-measure dimensions
- Custom framing, mounting and alternative materials
- Coordinated pieces for several rooms or locations
- Map personalisation, to mark important locations or add extra details
- Map and framing guidance from our workshop
- Local production for projects around the world
Every Unique Maps piece begins with an authentic cartographic source or an original design from our London studio.
For our historic maps, we source rare originals from libraries, archives, auction houses and private collections around the world. We carefully restore each map for print—repairing age-related damage, balancing colour and improving clarity while preserving its original detail, texture and character.
Once restored, the map is prepared for your chosen size and finish. Your piece is then printed and, where selected, framed close to its delivery destination.
Our map prints use acid-free 200gsm archival matte paper and fade-resistant pigment inks, creating a rich, non-glossy finish designed to last. Framed maps use crystal-clear optical acrylic and arrive ready to hang.
Canvas, cotton-rag and other specialist presentations are also available. Learn more about our materials and finishes.
Personalising your map
You can add a short title or dedication, mark one meaningful place, or request one considered visual detail. For personalised designs, we send a proof before printing and you can request changes before approval.
For more complex bespoke commissions, contact our design team.
Original or Aged
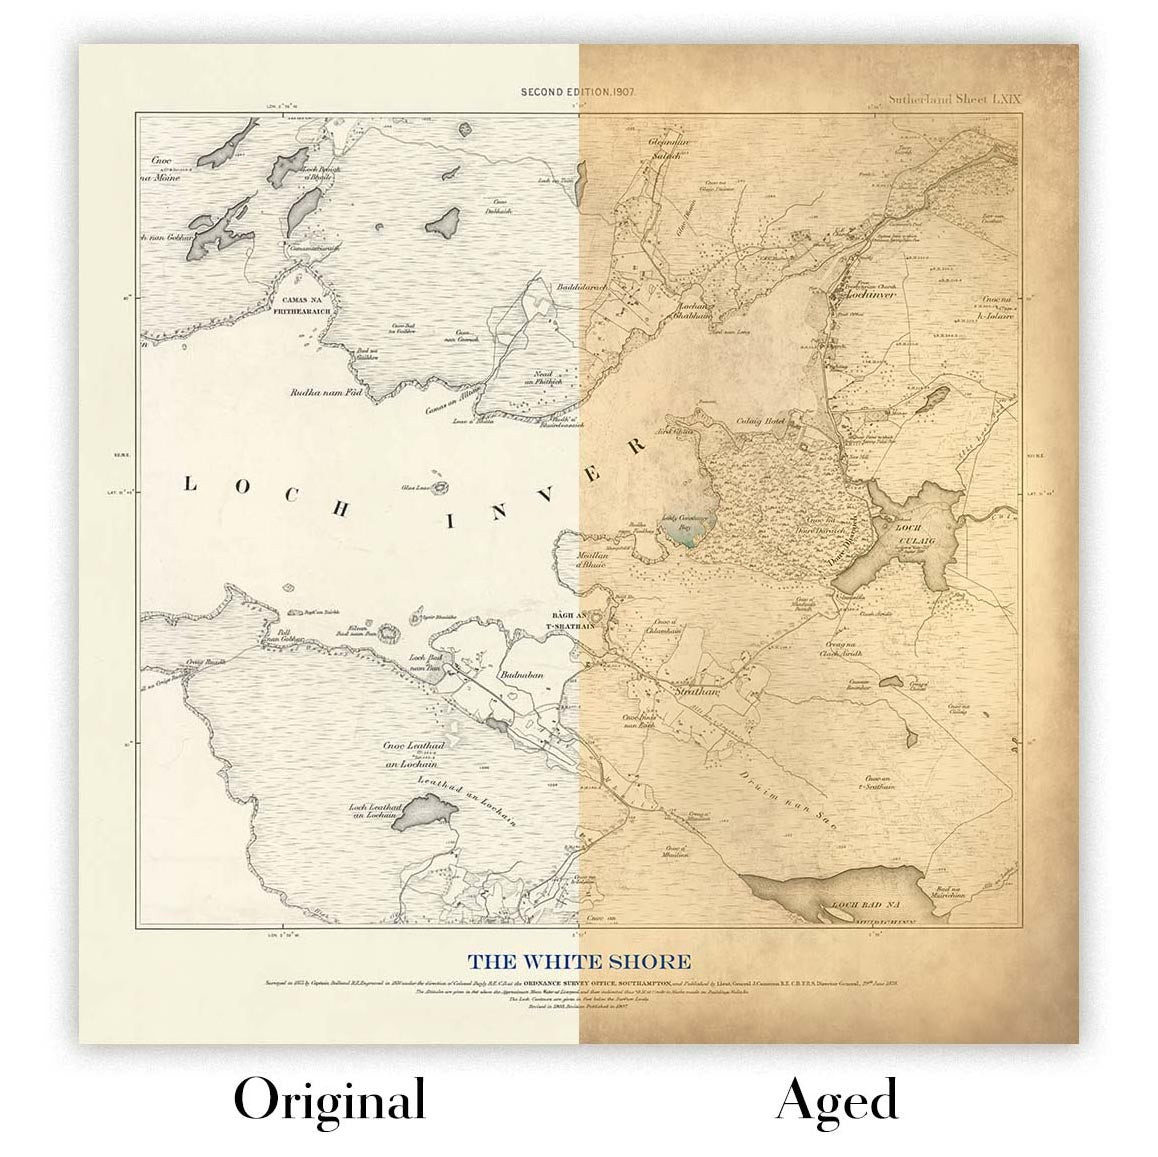
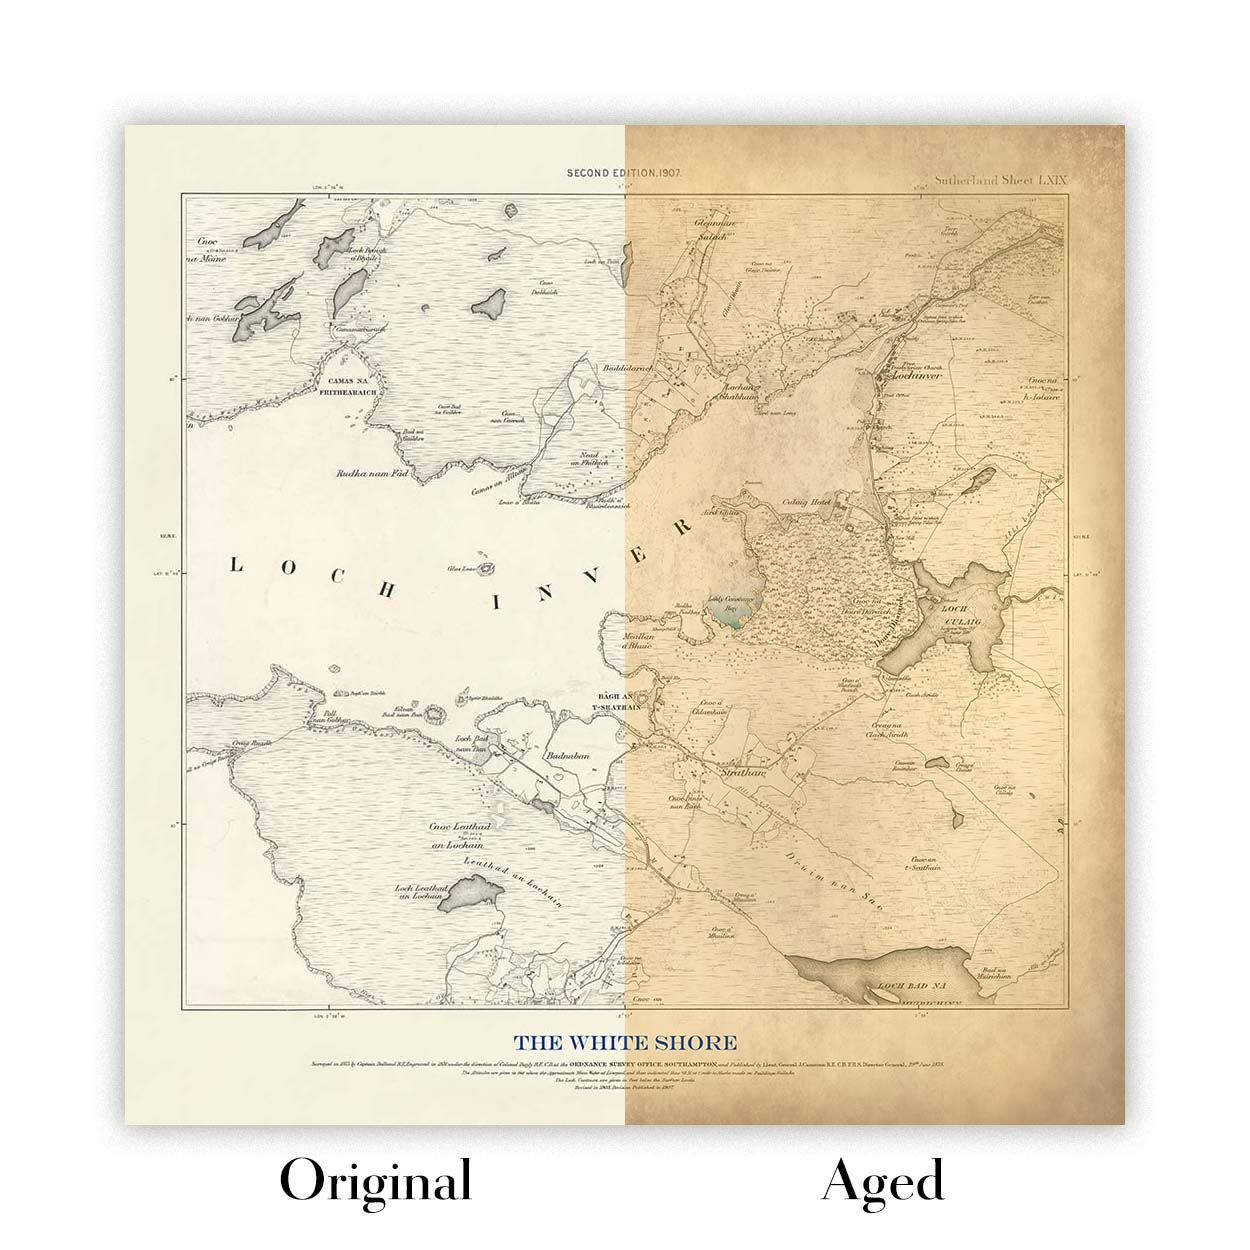
Choose Original for true-to-source colour, or Aged for a warmer, richer antique character created with our specialist ageing process. See examples of our Aged maps.
We’ve been restoring and producing maps and art prints since 1984, and we stand behind every piece.
Every order is covered by our 10-year guarantee and damage-free delivery guarantee. If your piece arrives damaged, we’ll replace or remake it free of charge. If anything else isn’t right, contact our workshop team and we’ll put it right promptly.
See our returns and refund policy for full details.
Or try searching for something!


